The fastest way to waste money on an enclosed trailer is to buy shelving first. Shelves fill walls; they do not decide what goes where, how the crew moves, or what a drawer does at 55 miles an hour. This guide works from the other direction: inventory the workday, group it by how often it moves, then pick the storage.
Our examples come from the field-used working prototype we built for our residential building work. It has normal signs of use and is not a finished production layout, and the hardware in our photos is not automatically part of any Biltout offer.
Step 1: Inventory the workday, not the shop
List what travels in a normal week, not everything you own. When we did this for insurance, the inventory for our prototype ran to 226 lines. Yours will differ; the exercise matters more than the total. Sort each item into a group:
- Every task: drills, drivers, tape, pencils, knives, levels, squares.
- Every day, not every task: saws, vacuum, fan, extension cords, chargers.
- Some days: specialty tools, masonry or drywall equipment.
- Consumables: fasteners, bits, blades, caulk, paint, sanding pads, PPE.
- Long or awkward: long levels, poles, trim stock, ladders, sawhorses.
- Paper and screens: plans, permits, change orders, a laptop or tablet, a whiteboard.
If a tool has not left the trailer in a month, it is a candidate for staying home.
Step 2: Put frequency next to the door
- Highest frequency nearest the entry, at standing height. Our rolling Ridgid cases do this: the bottom cases hold daily items and the top case goes into the job.
- Daily-but-heavy at low, strong positions. Saws and the vacuum get dedicated spots so they never sit loose.
- Consumables in labeled, divided drawers. Ours are marked with tape, which makes low stock obvious.
- Low-frequency and long items out of the aisle. Side-access and concealed bays keep them reachable without blocking the path.
Step 3: Protect the aisle and the ramp
The aisle is the part most layouts give away first. Keep it:
- Clear end to end. If you step over a case to reach the front, the layout has failed.
- Wide enough to turn with something in your hands. Measure it with your own crew; we have not published a dimension because it depends on the build.
- Free of anything that lives on the floor overnight. Rolling cases need a home they lock or block into.
The rear ramp is also a work surface. Think about what gets rolled up it and whether anything mounted near the entry gets in the way.
Step 4: Choose storage types by job
| Storage type | Good for | Watch for |
|---|---|---|
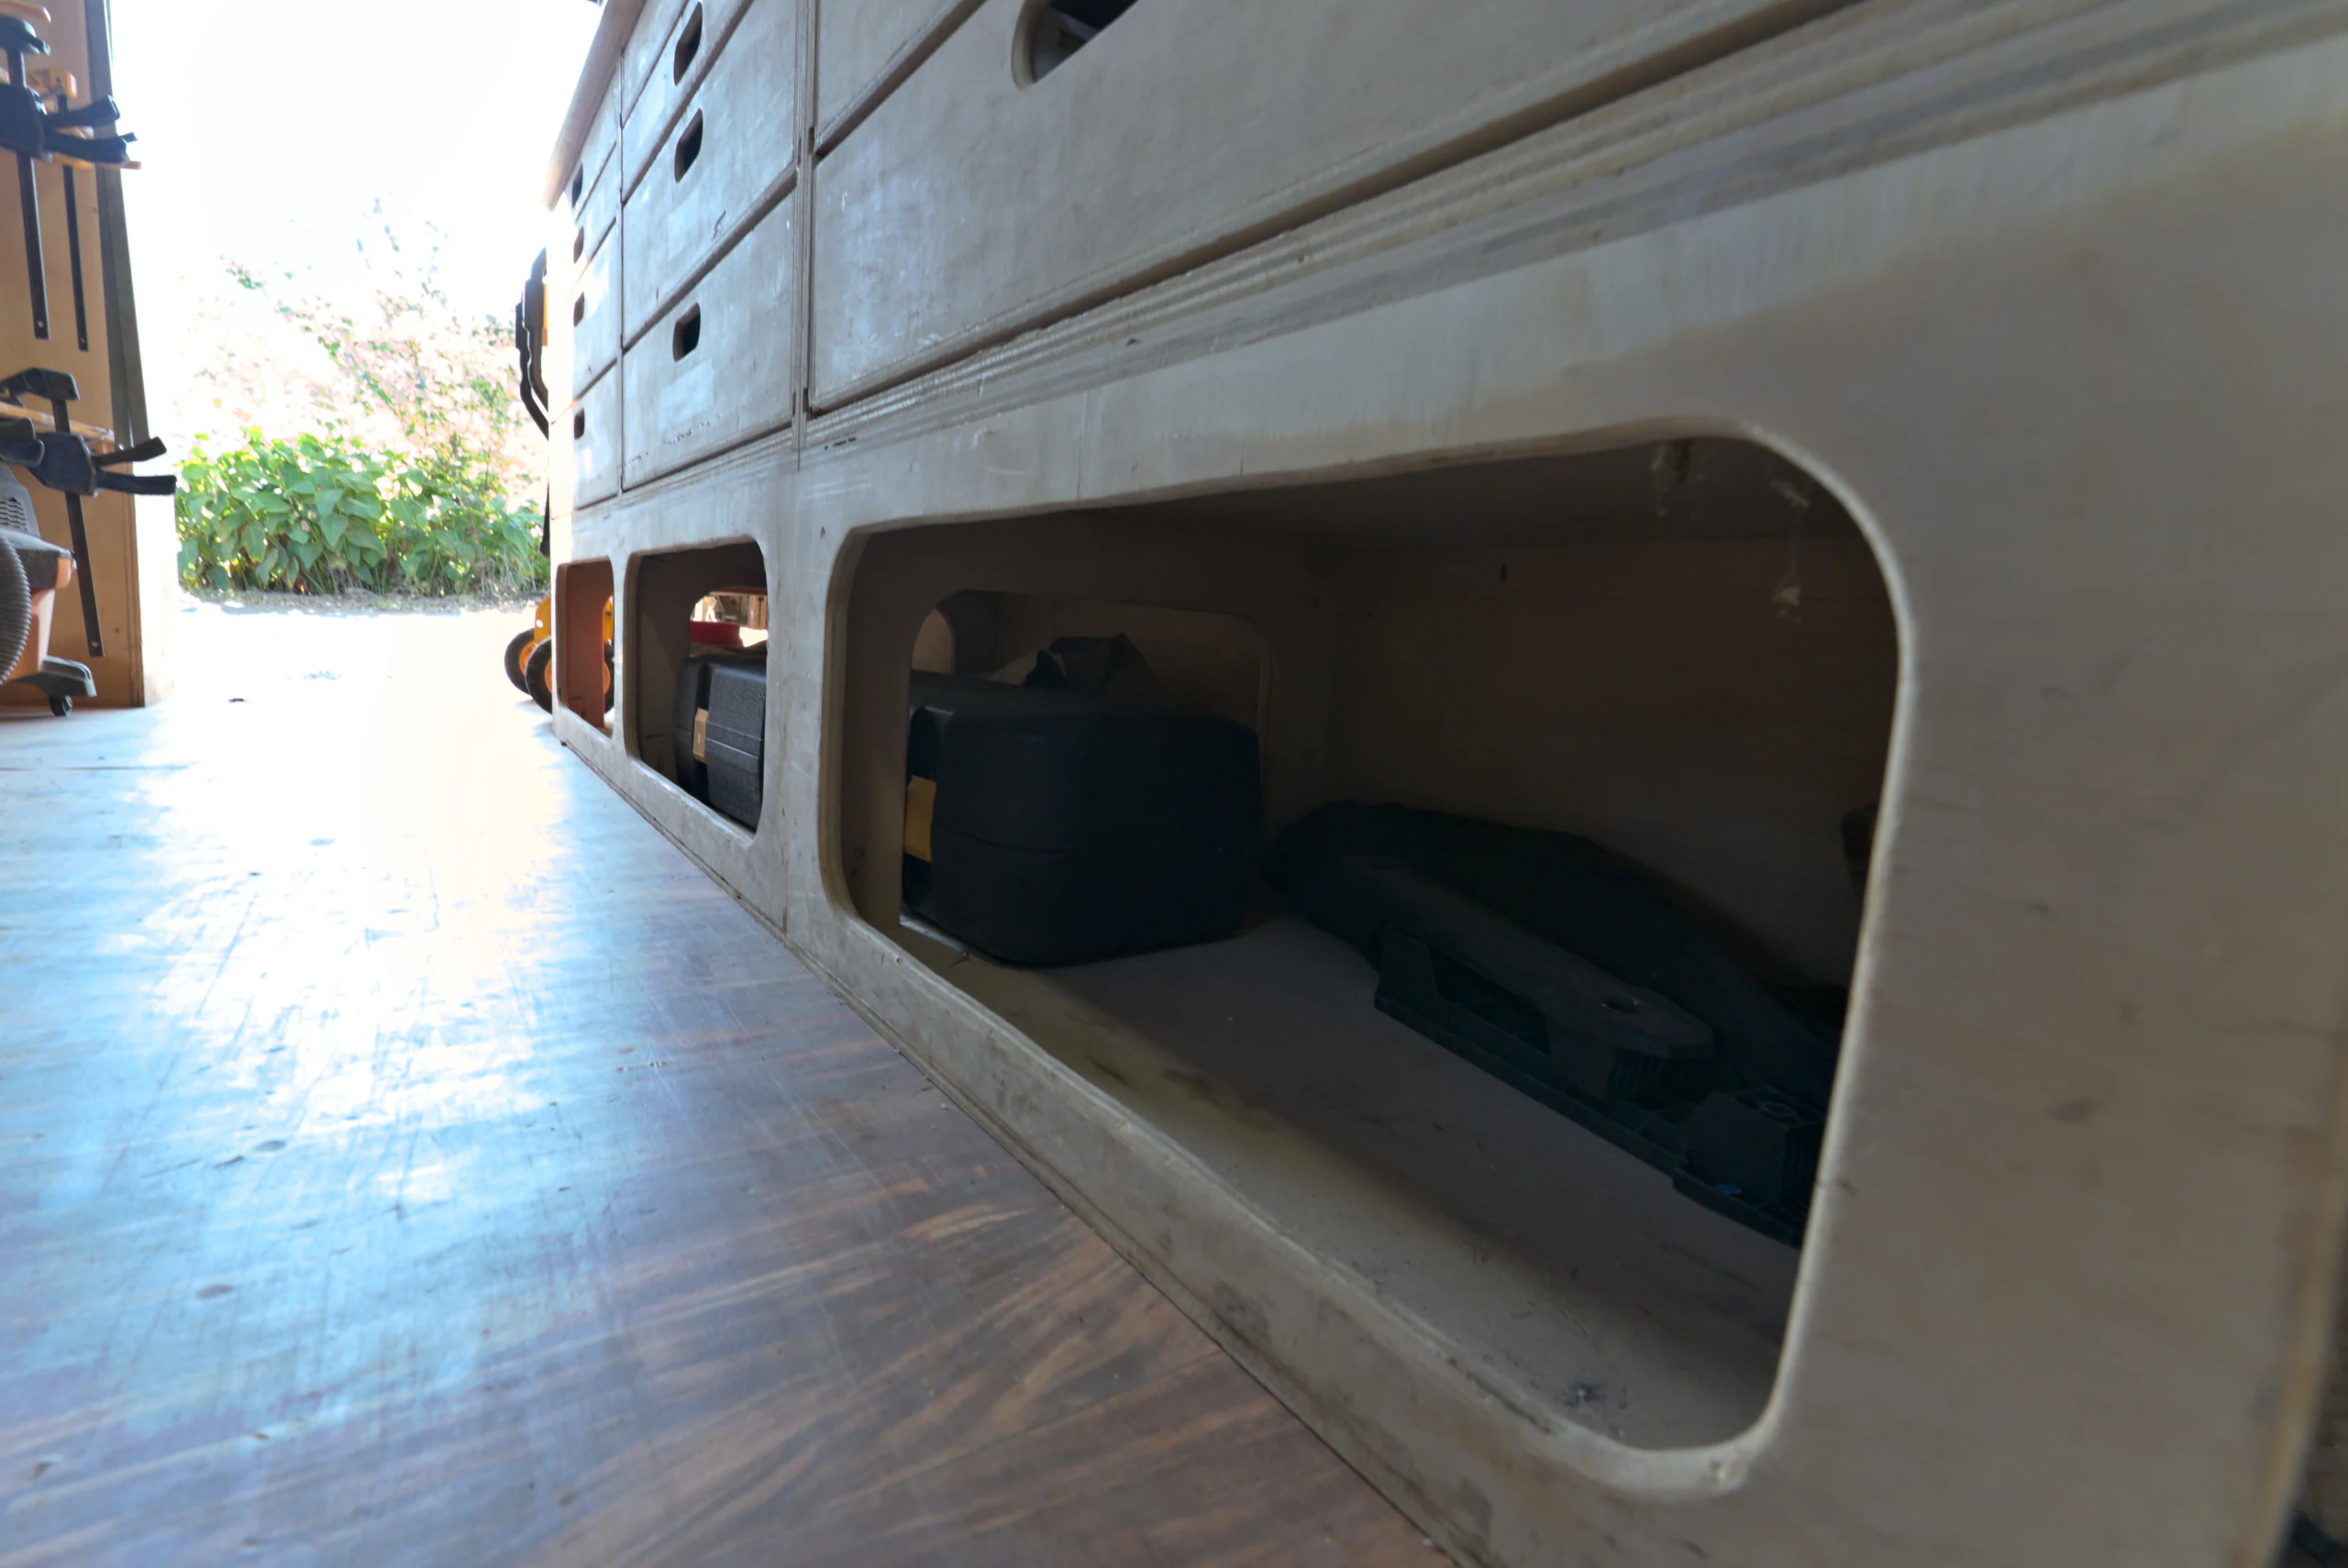
| Plywood drawers (Paulk-style) | Cordless tools, sanders, tape, bits, small consumables | Travel retention; drawers must stay shut on the road |
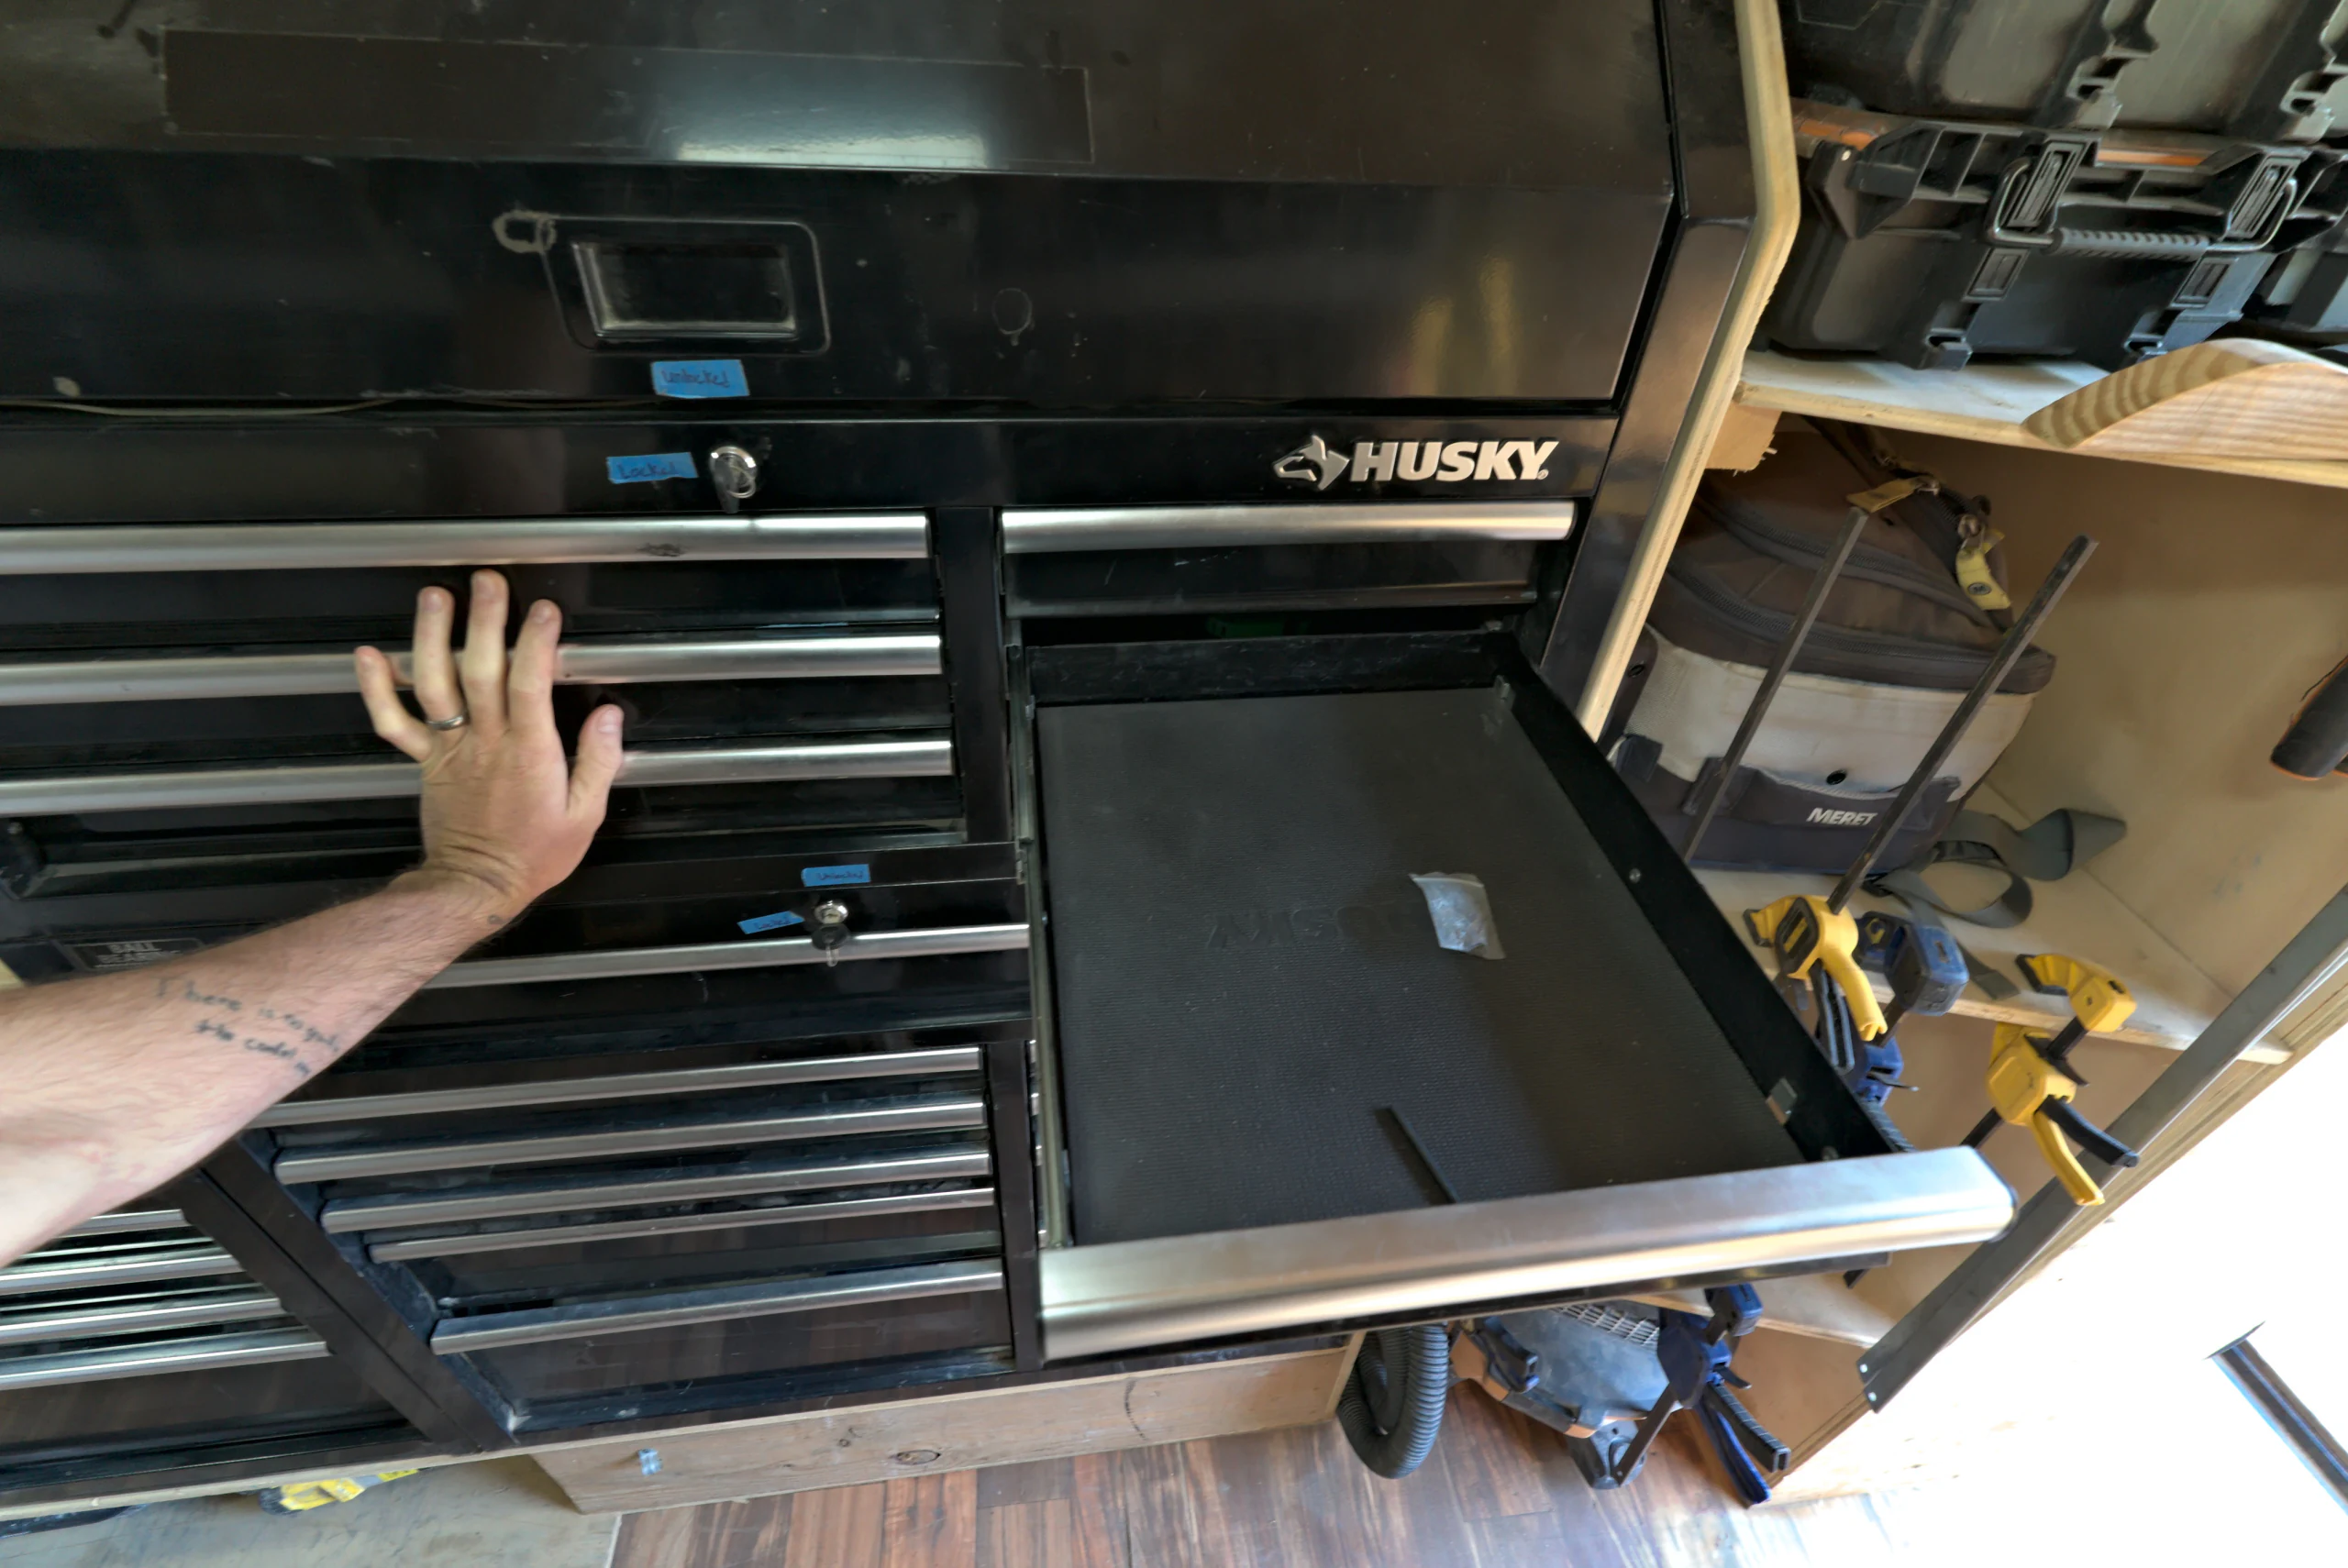
| Metal tool chests | Chargers, hand tools, PPE, cords, fasteners | Weight, mounting and where the mass sits relative to the axles |
| Open cubbies | Cases, bags, rolls, items that change often | Restraint: nets, lips or straps so contents stay put |
| Side-access bays | Long levels, poles, trim, sawhorses | Weather and door access at real jobsites |
| Pull-out bays | Ladders and other long, flat items | Slide hardware and a stop that holds in transit |
| Wall rails and racks | Clamps, levels, squares, broom, spray cans | Rattle, fall-out and head clearance |
On our prototype, the plywood drawers lift over a small block to open, upper cubbies carry cargo netting, a spray-can rack keeps caulk and paint upright, and the ladder slides out of a concealed bay. The prototype story walks through each zone.
Step 5: Plan restraint for the road
Every storage choice needs an answer to "what happens on a hard stop?"
- Do drawers latch, lock or block closed without someone remembering to do it?
- Can anything on an open shelf slide, tip or launch forward?
- Are heavy items low and secured, not high on a wall?
- Is anything resting against a door that could fall out when it opens?
- Are cords, hoses and rolling items tied down or parked in a fixed spot?
We are not publishing load ratings for any storage in our trailer. They have not been measured and would not transfer to a different build. Check manufacturer limits for any hardware you buy.
Step 6: Light it and give charging its own zone
Plan lighting around tasks: overhead for the aisle, task light at the work surface, and a way to see into deep drawers. Our prototype has installed interior lighting and power; a production Biltout's electrical ratings and limits will follow its documented design. For your own build, have a qualified electrician design anything beyond simple plug-in charging.
Batteries and chargers want a fixed home with airflow, not a pile on the bench.
Trade variations
- Residential builders and remodelers carry the widest mix, so labeled consumables and long-item storage matter most.
- Carpenters and trim crews tend to center the layout on saws, clamps, levels and a work surface.
- Electricians, plumbers and HVAC techs often carry more small parts and fewer large tools, which may favor bin systems and a different aisle split. See the trade-fit guide.
Zone worksheet
Copy this into a notebook or spreadsheet before you shop:
| Zone | Items | Frequency | Location | Storage type | Restraint |
|---|---|---|---|---|---|
| Entry / daily | Every task | ||||
| Saws and large tools | Daily | ||||
| Consumables | Daily | ||||
| Charging | Daily | ||||
| Long items | Weekly | ||||
| Ladders and stands | Weekly | ||||
| Paperwork / screen | Daily |
A full worksheet tells you what storage you need, and whether you want to build it yourself or start from a defined layout. Read DIY vs. a defined system and the cost guide before you order anything, and see the mobile workshop trailer guide for the bigger picture.